Running the SpecFlow Test
Steps for running the SpecFlow Test
Feature: SubmitInquiry
    In order to know more about the product
    As a customer
    I should be able to submit a inquiry request via model app

@mytag
Scenario: Submit a successful contact us request
    Given I navigate to ModelApp
    When I enter John Doe in Name
    And I enter johnd@email.com in Email
    And I enter test in Message
    And I click on Submit
    Then I should see Thanks for contacting us.
using Microsoft.VisualStudio.TestTools.UnitTesting;
using OpenQA.Selenium;
using OpenQA.Selenium.Edge;
using System;
using System.Threading;
using TechTalk.SpecFlow;

namespace ModelApp.FunctionalTests
{
    [Binding]
    public class SubmitInquirySteps
    {
        IWebDriver driver = new EdgeDriver();
        string endpoint = Environment.GetEnvironmentVariable("APP_ENDPOINT");

        [Given(@"I navigate to ModelApp")]
        public void GivenINavigateToModelApp()
        {

            driver.Navigate().GoToUrl(endpoint);
            Assert.IsTrue(driver.Title.ToLower().Contains("model application"));
        }

        [When(@"I enter John Doe in Name")]
        public void WhenIEnterJohnDoeInName()
        {
            driver.FindElement(By.Id("Name")).SendKeys("John Doe");
        }

        [When(@"I enter john@email\.com in Email")]
        public void WhenIEnterJohnEmail_ComInEmail()
        {
            driver.FindElement(By.Id("Email")).SendKeys("johnd@email.com");
        }

        [When(@"I enter test in Message")]
        public void WhenIEnterTestInMessage()
        {
            driver.FindElement(By.Id("Message")).SendKeys("test");
        }

        [When(@"I click on Submit")]
        public void WhenIClickOnSubmit()
        {
            driver.FindElement(By.CssSelector(".btn")).Click();
        }

        [Then(@"I should see Thanks for contacting us\.")]
        public void ThenIShouldSeeThanksForContactingUs_()
        {
            var MsgToVerify = "Thanks for contacting us.";
            var MsgOnConsole = driver.FindElement(By.XPath("//div[2]/h2")).Text;
            Assert.AreEqual(MsgOnConsole, MsgToVerify);

            Thread.Sleep(3000);
            driver.Quit();

        }

    }
}
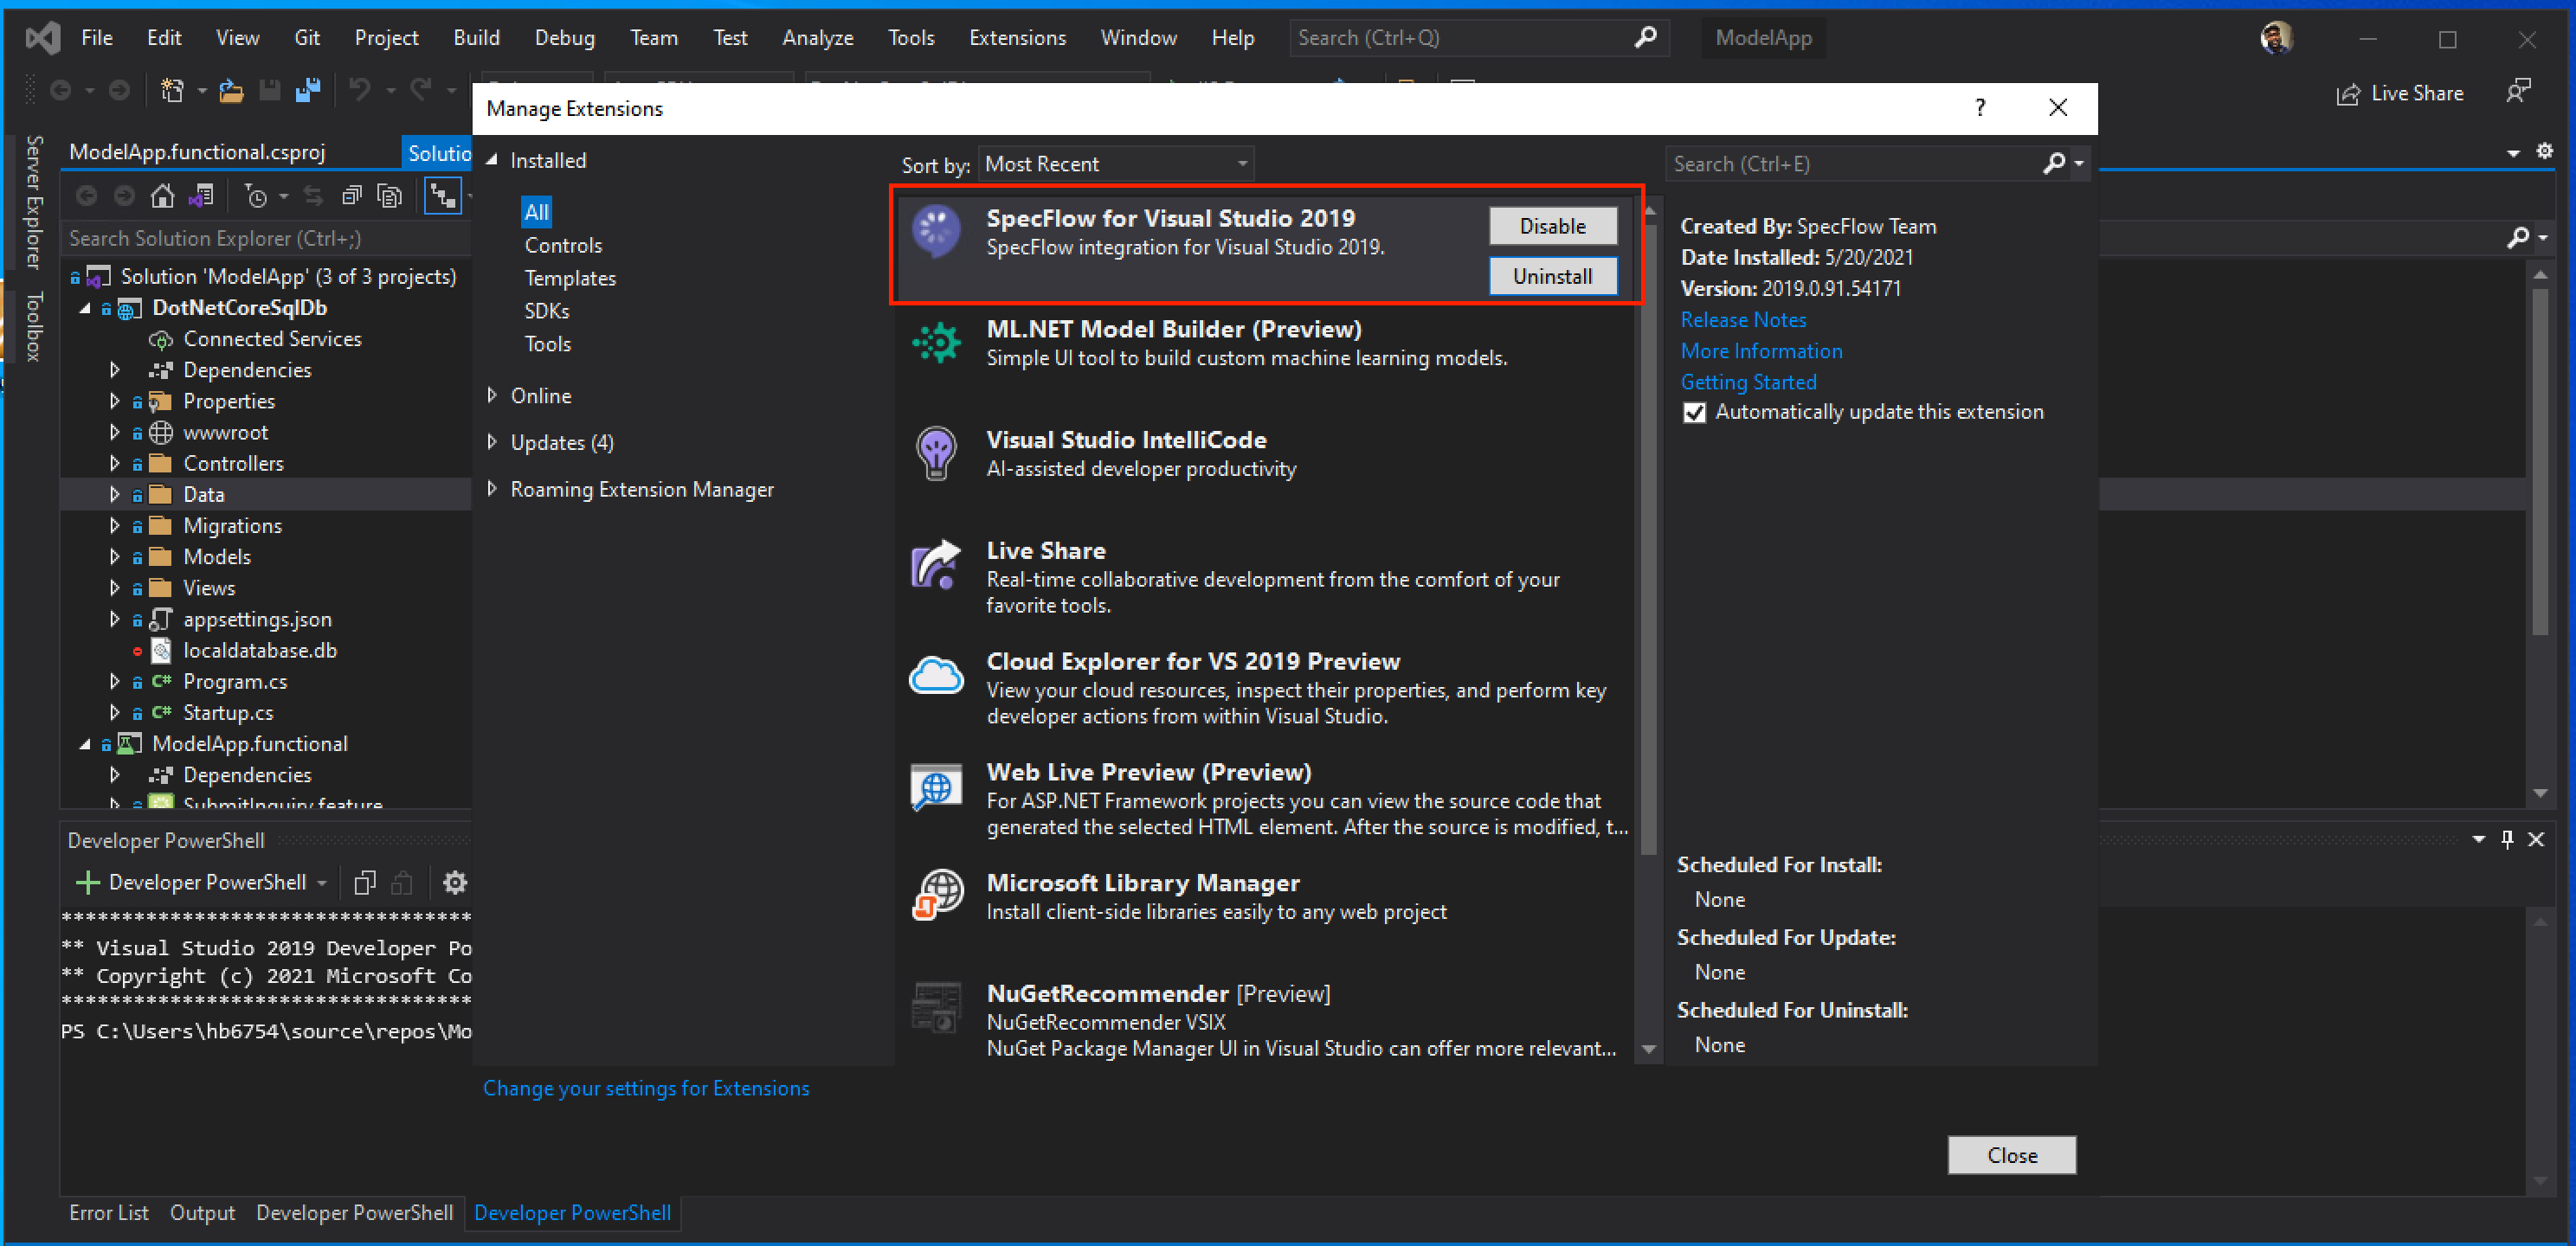
- Ensure Visual Studio 2019 is installed. Install the SpecFlow extension (Extensions tab of Visual Studio). Extension name is
SpecFlow for Visual Studio 2019as shown in the screenshot above. -
Examine the following codes
SubmitInquiry.feature,SubmitInquirySteps.csand ensure you understand what them.Explain the code in details
Make sure to go over the code and users understand both the feature file and the step definition file
-
Before running the test, ensure the ModelApp is still running. Refer to ModelApp page.
- Build the ModelApp.functional and run the test from the test explorer.
- Create an MsTest Project
- Ensure the SpecFlow library for executing SpecFlow tests is installed. Via NuGet packages, search and install
SpecFlow.MsTest - Create Feature File. Right click on the test project and add new item, select SpecFlow Feature file, then name the file according to what feature is being tested. A sample feature with scenario is auto-generated. Edit this file according the feature being tested.
- Build your Solution and go to the Test Explorer to see your tests. These tests will fail if executed because feature file needs to be implemented and this is done with step definition file
- To generate the step definition file, right click anywhere in the feature file and select `Generate Step Definitions' and Select Generate.
- Modify the step definition file by replacing
ScenarioContext.Current.Pending()with an actual implementation of your test feature file. -
Build your solution and from the command-line, change into ModelApp.FunctionalTests directory and run the test with the command below;
dotnet test --filter SpecFlowFeaturesTest